
Creating & Sharing New Cloudflare Accounts with AWD
At Austin Web & Design we recommend to our new, and our maintenance, clients to sign up for a free Cloudflare account. This way the can enjoy better performance, security, and managed DNS.
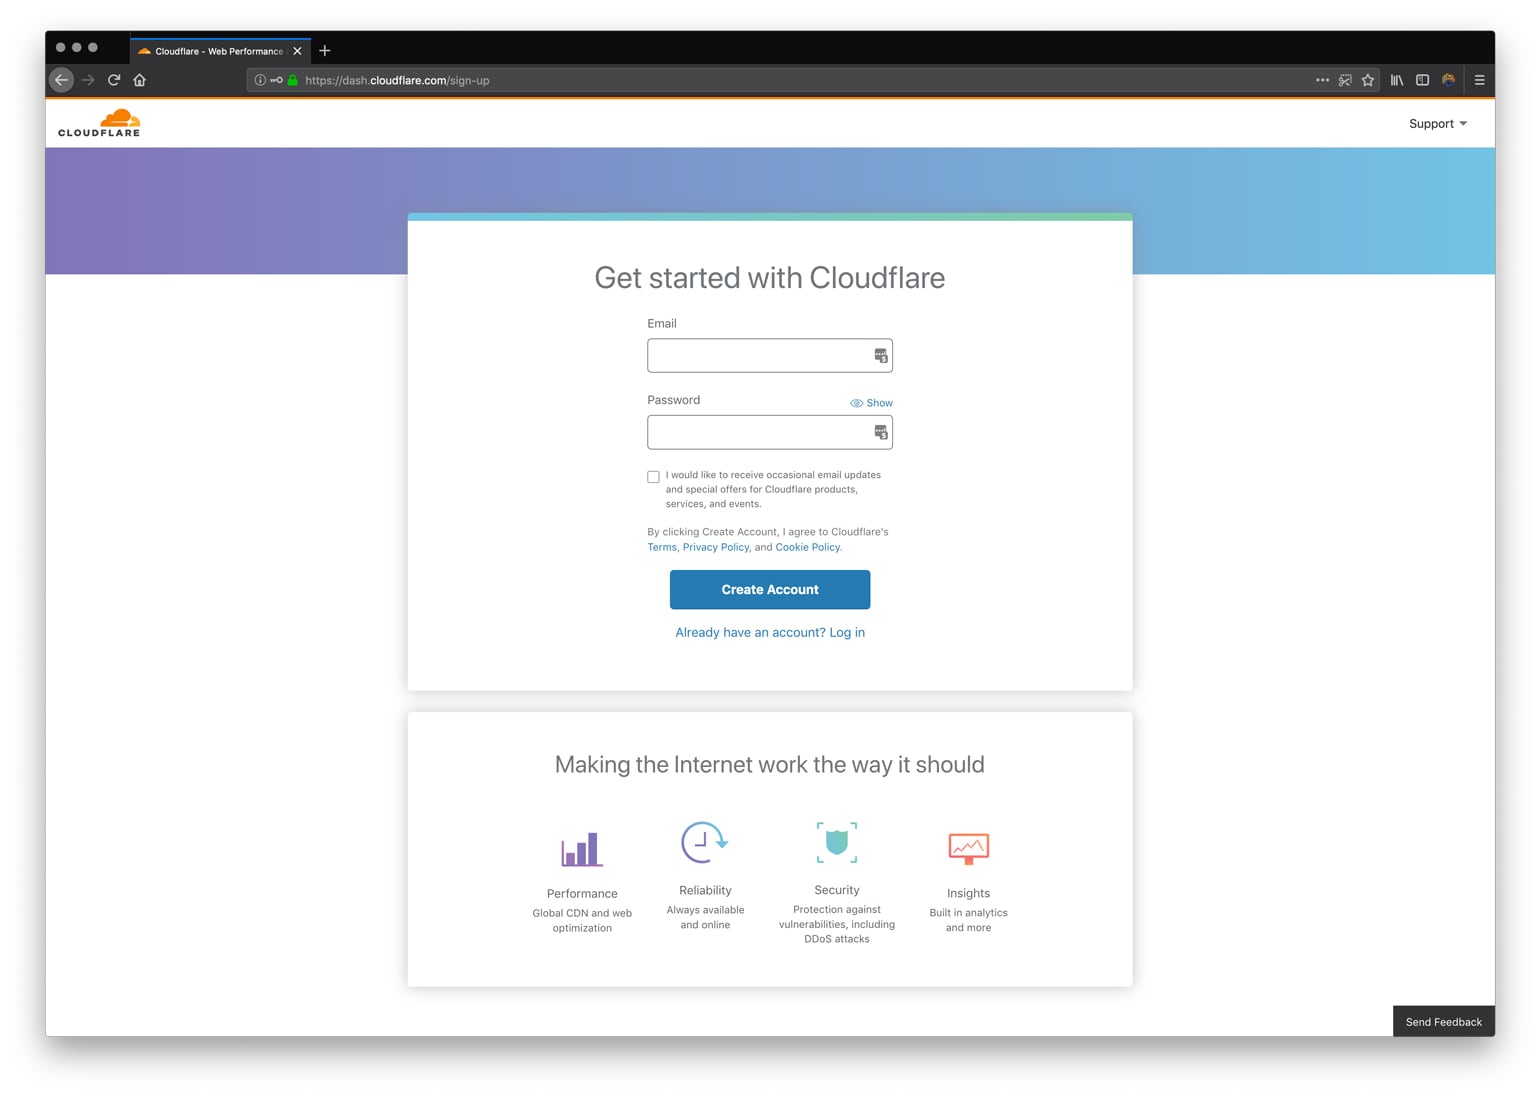
Step 1: Sign Up
Go to the Cloudflare sign up page and enter in your details.
Step 2: Verification
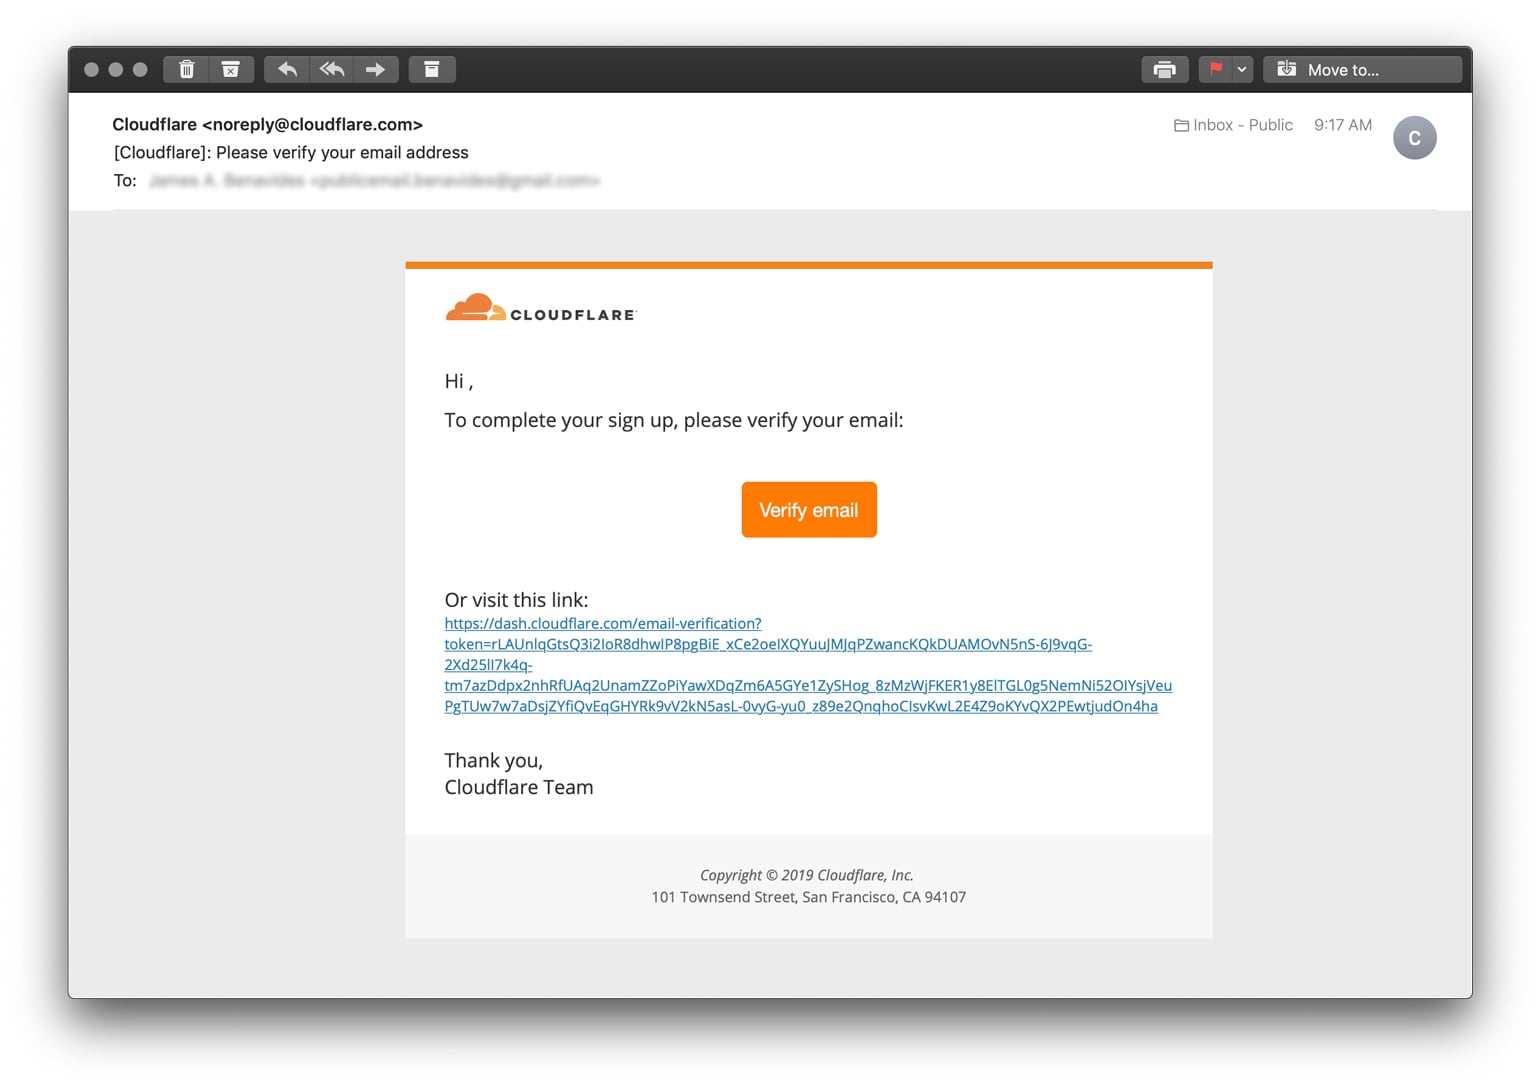
You will need to verify your email, so do that next.
Step 3: Cloudflare Dashboard
Once you verify your account the link in the email will send you back to Cloudflare to either login or to view your Cloudflare dashboard. If you were already logged in, you would need to refresh your browser to pull in your new access. The first page will ask you to enter your website URL and any details about it, but if you are an AWD client and you are signing up to share access with us you can disregard this.
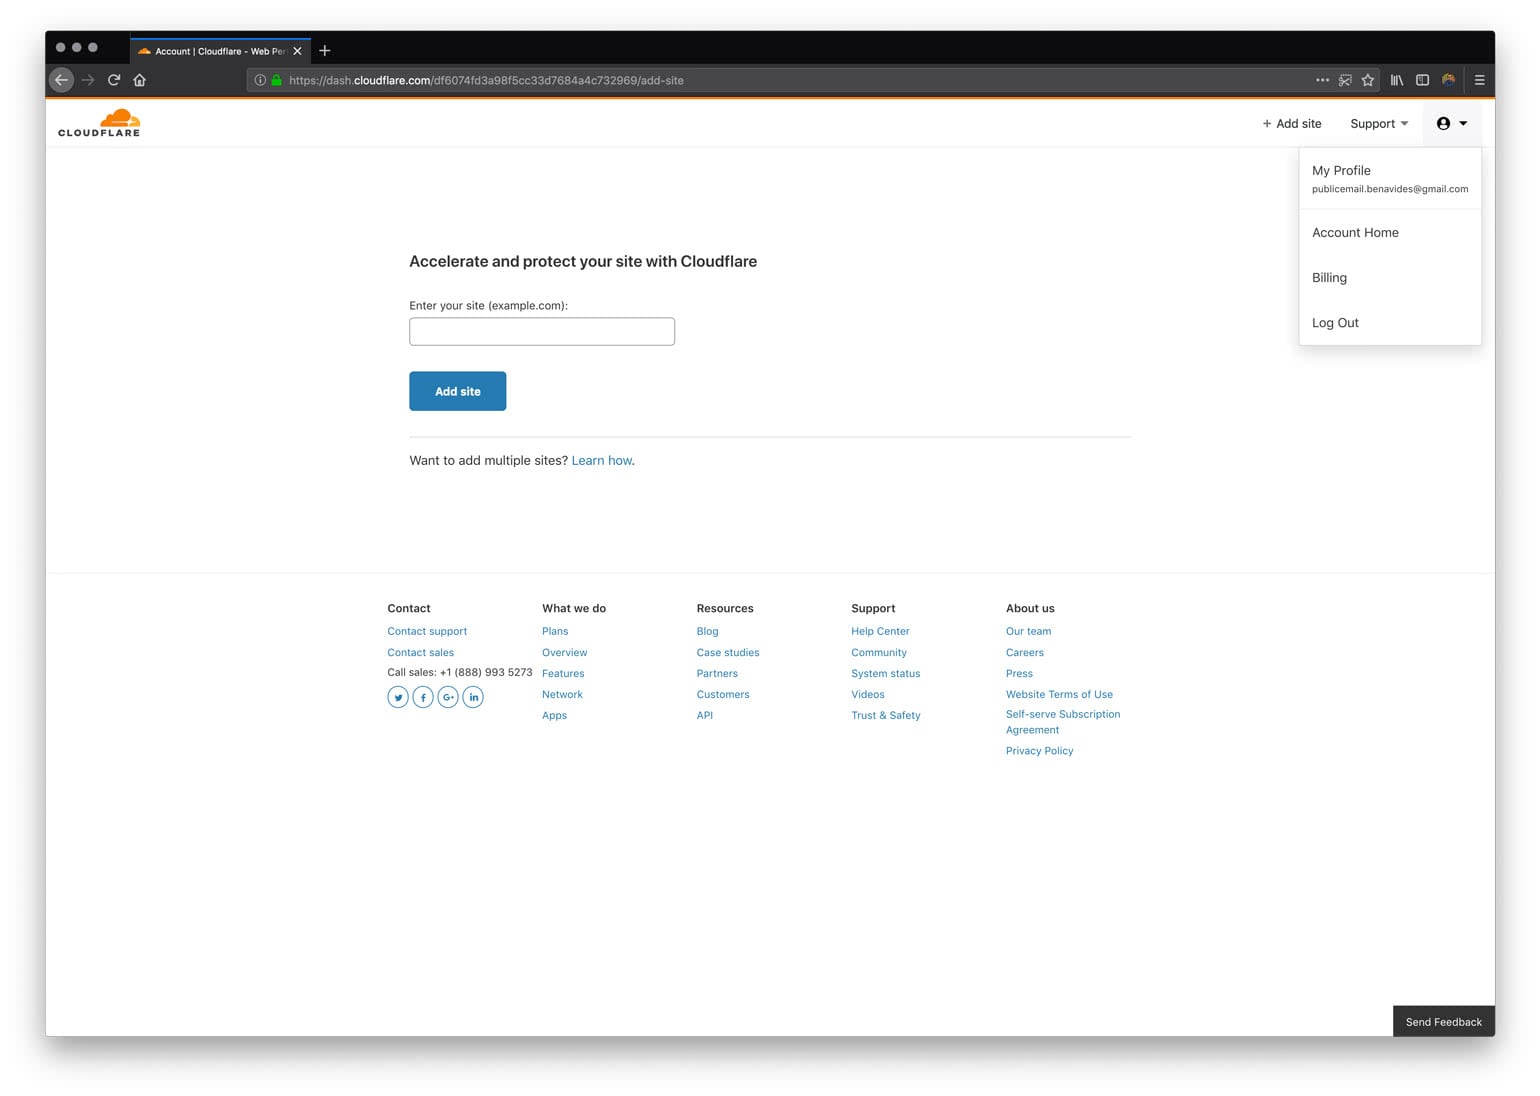
Step 4: Go to Account Home
At the top right is your profile menu item, click on that for the submenu to drop down. Go to the Account Home page.
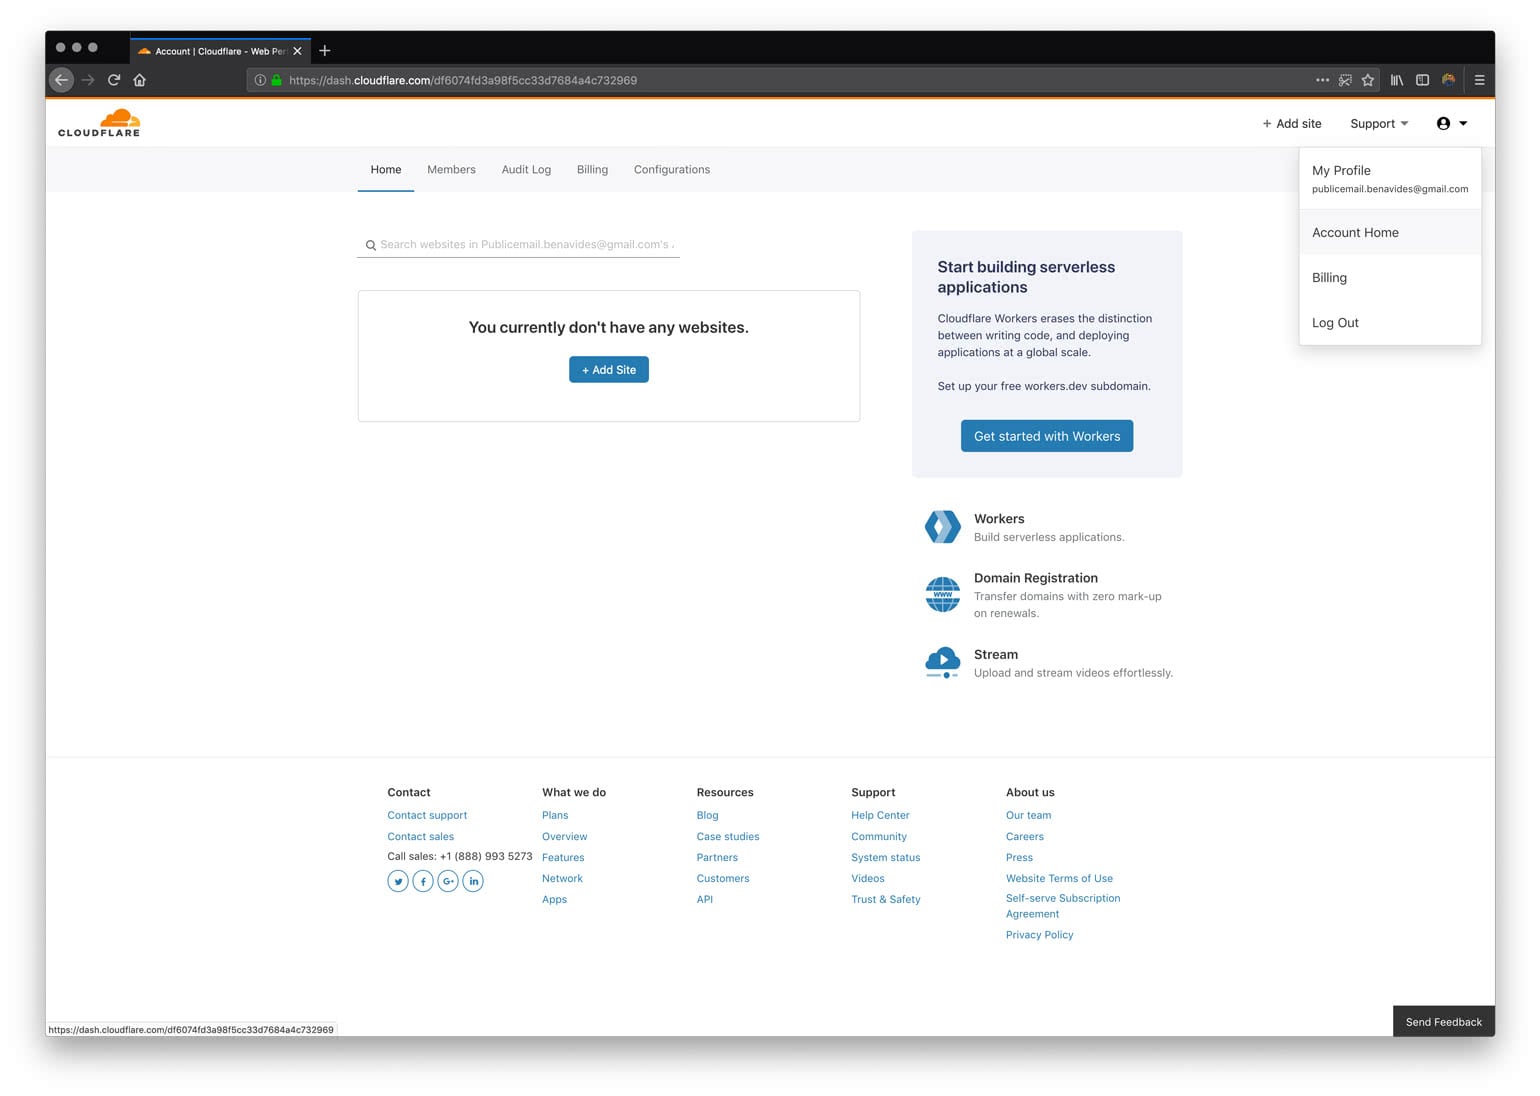
Step 5: Go to Members
On the Account Home page, you will see a new menu of options. Select the Members option. On the Members page you will see an Invite Members field. Enter in the AWD email your project manager provided you.
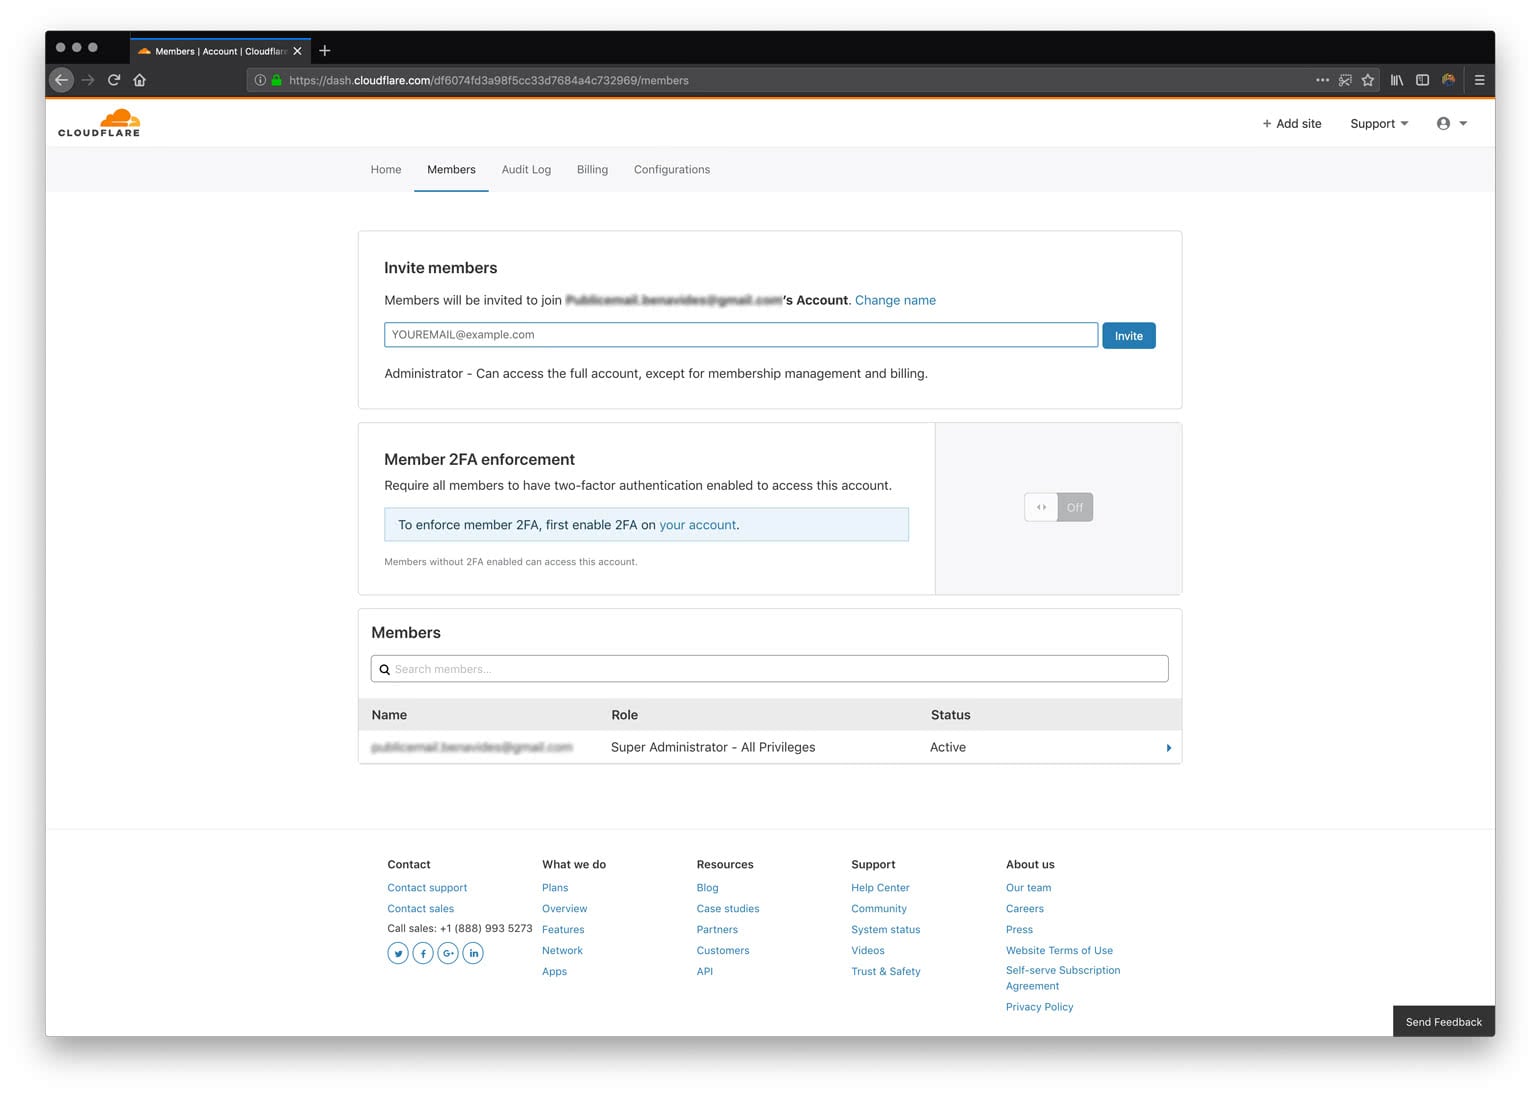
At the end of this 5-step process, you will have a new Cloudflare account and will have granted AWD access to manage your domain/website.
Gallery with Lighbox
Related Access Guides
If Cloudflare is part of a larger website stack, these guides explain how to safely grant access across hosting, domains, and Google tools—without sharing passwords.