Some plugins and site integrations generate a Google map through their API system instead of using a map embed. In this article we’ll walk you through the requirements of using the Google Maps API. Let’s get started!
Log into the Google Maps Platform
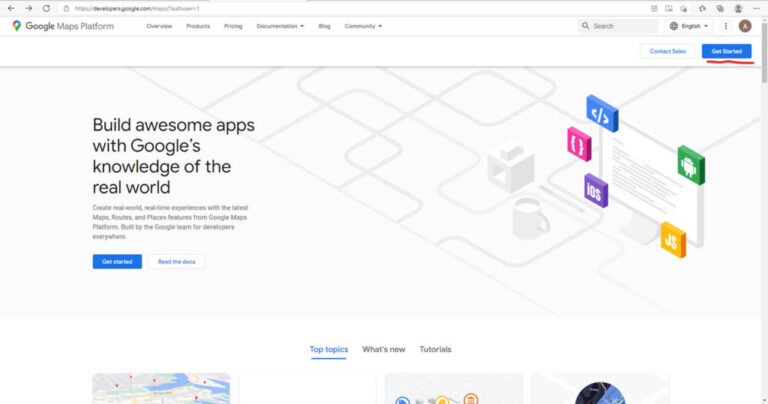
Create an account or use an existing gmail account and log in at https://developers.google.com/maps/. Once logged in, find the “Get Started” button in the upper right corner of the page and click it (Fig. 1).

Even if you are logged in you may be prompted to prove your account credentials again. If you haven’t set up an API in the past you’ll be met with some Terms of Use content and a Free Trial setup for Google Cloud. Don’t worry, paid services must be manually activated after but a billing profile must be created to use the Maps API.
You may be prompted to fill out a quick business survey and a demo API key. We will want to limit what APIs are used so click “Maybe Later” to cancel out of the demo.
Once you’re through all that we’ll be in the general Maps API interface.
Create Your Maps Project
In a new Google Maps account there should be a “Create Project” button on every page to get you started. Alternatively, there is a dropdown menu in the blue top bar to view all projects on the account and create new ones (Fig. 2). Name your new project and click “Create.”

Providing Delegate Access to your Project
Google now offers account sharing through IAM & Admin interface. If you’d rather set up your API yourself skip down to “Create Your Project API.” Otherwise, just give us access and we can take it from here. In the left-sidebar menu, hover over “IAM & Admin” and click “IAM” (Fig. 3) and you will be taken to the Project Permissions page.

Towards the top-left of this screen click “Add +” (Fig. 4) to open a slide-out interface. Enter the email address of the user you want to grant access to as the New Principle and grant them the “Owner” role. Then let us know and you’re all set!

Create Your Project API
If you want to set up your API keys yourself, you’ll need to enable specific APIs for your project. What you’ll need will depend on what is used by your theme or plugin but the most common option will be “Maps JavaScript API.” In the left-sidebar menu hover over “API & Services” and click “Dashboard.” At the top of this page you’ll see an “+ ENABLE APIS AND SERVICES” button. Click that to be provided a list of APIs you can enable.
Optional: More advanced map plugins may require multiple APIs. In these cases, once you have enabled the Maps Javascript API you will need to navigate back to “APIs & Services” and then to “Library.” Here you can select additonal APIs to enable. Common ones are:
- Directions API
- Places API
- Geocoding API
Google’s new interface prompts you to set up billing for your free Google Cloud trial. However, if you are using an older account you may need to manually setup and attach your project to a billing account. Click the hamburger menu in the blue top bar and select “Billing.” If you’ve previously set up a billing account you can link it from this interface, otherwise you’ll need to click “Manage Billing Accounts” and set one up.
Obtain Your API Key
All that’s left is to create your API key! Be sure your project is still selected in the top bar drop down menu, then click the hamburger icon and select “API & Services.” Select “Credentials” in the left-hand sidebar (Fig. 5) then click “Create Credentials” (Fig. 6) at the top of the page and select API Key. Copy that key and place it in your theme or plugin settings and now you’ve got Google maps!

